
Blender STLファイル インポート

上の図は、以前紹介した、
RhinocerosのプラグインFlamingo(試用版)でレンダリングした3DCG。
現在、3DCAD・CAMはRhinocerosを5〜6年使用している。
モデリングも自由に作る事ができるし、
創出するNCプログラムも、楽器製作には充分である。
しかし、レンダリング(3Dモデリングに色や質感を加えて3DCG表示する)に関しては、
もっと踏み込んだ処理を行いたいので、ソフトを探していた。
条件は、STLファイルを読み込み可能、Mac対応、安価であるという事。
色々と探した結果、フリーソフトのBlenderを試す事にした。


Rhinocerosで作った、各パーツ図面をSTLデータで書き出しを行い、
Blenderで読み込んでいく(インポート)。
書き出したSTLデータファイルは40個ほどになった。
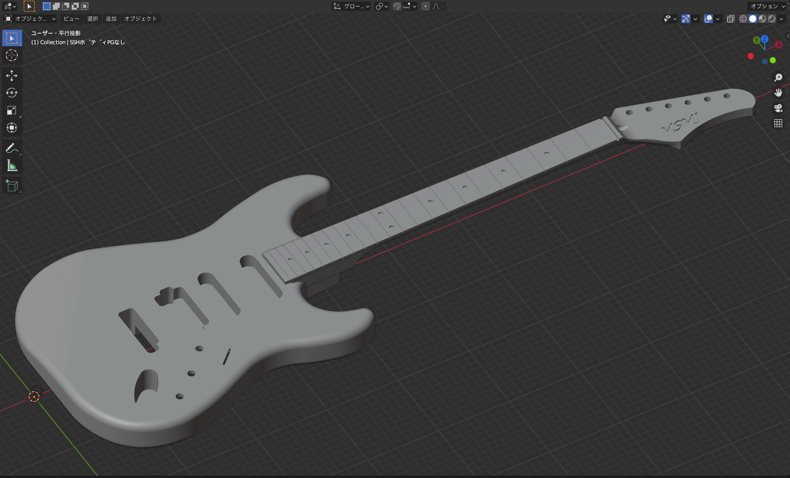
ネックとボディを読み込んだ図。
木部は、NC加工に使用している3Dデータなので、精密に作り込んだもの。
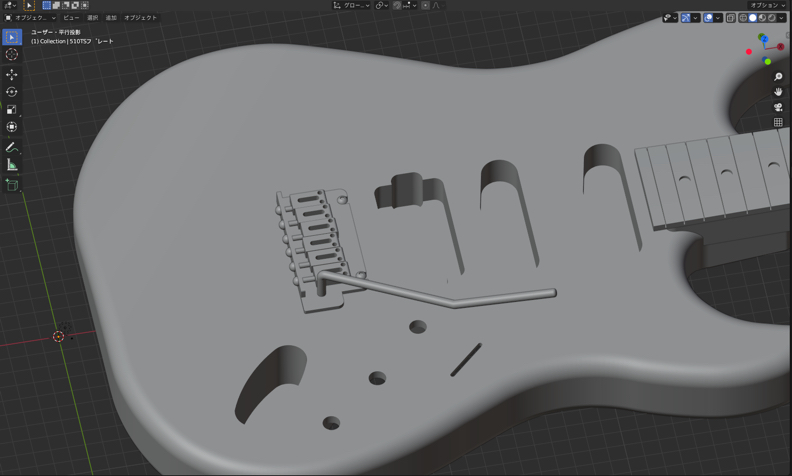
続いて、ブリッジ・ペグを読み込む。
パーツのモデリングに関しては、細かいディティールは簡略化している。

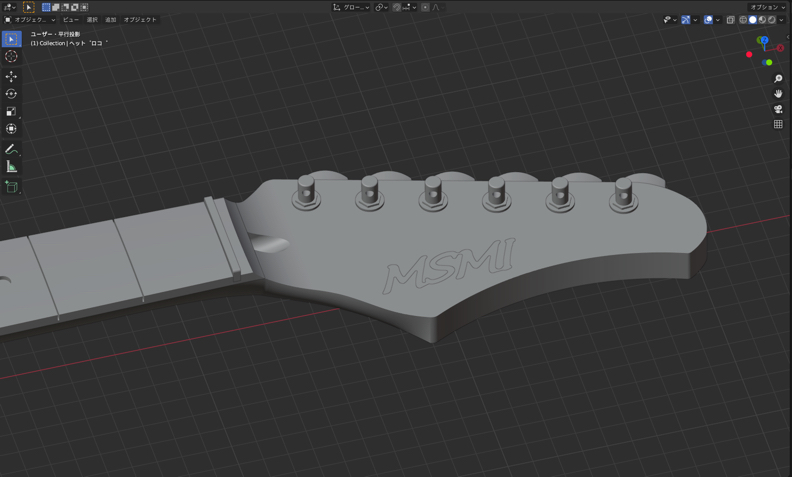
フレットとポジションマークを読み込み。


弦も含めて残りのパーツを読み込む。

読み込んだ各パーツに、色や質感を加えればリアルな3DCGになるはず。
これから、Blenderのレンダリング操作をマスターしていくのだが、
中々に奥が深そうなので、じっくりと取り組みたい。
オーダー時のプレゼンテーションや、新モデルのデザイン等、
利用価値は大きいので、早くマスターして、活用していきたい。
